Crème brûlée, with its creamy custard base and signature caramelized sugar crust, is the pinnacle of indulgent desserts. While its simplicity may seem deceiving, crafting a perfect crème brûlée requires precision, high-quality ingredients, and expert technique.
For those seeking to branch out into unique brûlée adaptations, explore our Crab Brûlée Recipe – A Decadent Seafood Treat for a savory twist on the classic dessert.
Table of contents
What is Crème Brûlée?
Crème brûlée, French for “burnt cream,” is a luxurious dessert that combines simplicity with sophistication. It consists of a rich, creamy custard base topped with a layer of hardened caramelized sugar, offering a delightful crunch with every spoonful.
The History of Crème Brûlée
Crème brûlée has origins dating back to the 17th century. Its precise beginnings are debated, with claims from France, England, and Spain. However, the French interpretation gained worldwide fame and is now synonymous with fine dining and indulgence.
Essential Ingredients for Crème Brûlée
Creating a flawless crème brûlée begins with selecting the finest ingredients. The simplicity of this dessert means that every component significantly impacts the flavor and texture. Let’s explore the essential elements of this decadent treat.
Essential Ingredients for Crème Brûlée
- Cream
The foundation of a velvety crème brûlée lies in the quality of the cream. Heavy cream is typically used due to its rich fat content, which contributes to the dessert’s signature smooth texture.- Tip: Avoid using low-fat substitutes; they can result in a watery custard that lacks the creamy indulgence characteristic of a perfect crème brûlée.
- Egg Yolks
Egg yolks act as the thickening agent in crème brûlée, binding the cream and sugar into a custard. They also impart richness to the dessert.- Tip: Separate your yolks carefully to ensure no egg whites mix in, as this can disrupt the custard’s consistency.
- Sugar
Sugar serves two purposes in crème brûlée: it sweetens the custard and creates the caramelized crust. For the topping, superfine sugar works best because it melts and caramelizes evenly.- Tip: Always measure your sugar accurately to prevent the dessert from becoming overly sweet.
- Vanilla
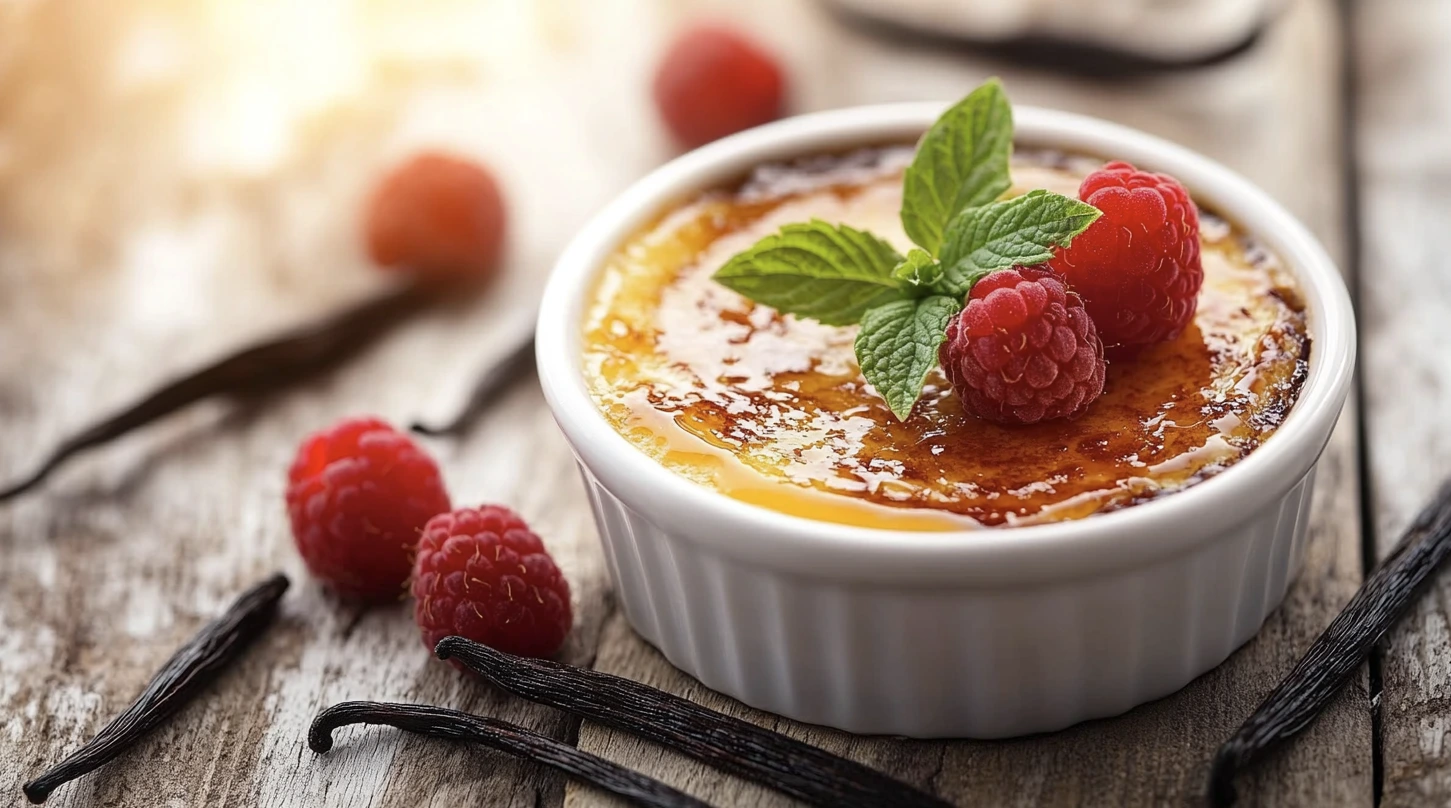
Vanilla is the soul of a classic crème brûlée. Whether you use a whole vanilla bean or pure vanilla extract, its warm, floral notes elevate the custard’s flavor profile.- Tip: Scrape the seeds from a vanilla bean for an authentic and luxurious flavor. The black specks of vanilla add an aesthetic charm to the dessert.
Optional Flavor Enhancers
While traditional crème brûlée sticks to vanilla, experimenting with flavorings like citrus zest, coffee, or chocolate can add a creative twist.
- Lavender: Infuse cream with dried lavender for a floral aroma.
- Matcha: Incorporate matcha powder for a Japanese-inspired green tea variation.
- Citrus Zest: Lemon or orange zest can brighten the custard with a fresh tang.
Mastering the Technique
Making crème brûlée requires precision, but don’t worry—it’s easier than it seems with the right steps. With careful attention to preparation, baking, and caramelizing, you’ll soon be creating a dessert worthy of a professional chef. Let’s walk through each phase of the process.

Step 1: Preparing the Custard
First, you’ll need to prepare the custard base. This part is crucial because it sets the foundation for your crème brûlée.
- Combine the Ingredients: Begin by gently whisking the egg yolks and sugar until the mixture is pale and slightly thickened. This ensures a creamy texture while dissolving the sugar properly.
- Pro Tip: Avoid overwhisking, as it can introduce air, leading to bubbles on the custard’s surface.
- Heat the Cream: Slowly warm the heavy cream with vanilla on low heat, making sure not to boil it. This allows the vanilla to infuse beautifully into the cream.
- Pro Tip: If you’re using vanilla beans, split them open, scrape out the seeds, and add both the seeds and pods to the cream for extra flavor.
- Temper the Eggs: Gradually add the warm cream to the egg mixture in small amounts, whisking constantly. This process prevents the eggs from cooking too quickly and forming lumps.
- Pro Tip: Tempering is key to achieving a silky custard. Always add the cream slowly, or the eggs might scramble.
Transition: Once the custard is ready, it’s time to move on to baking it for that velvety texture.
Step 2: Baking the Custard
- Use Ramekins: Pour the custard into individual ramekins for even baking and portioning. Using ramekins ensures that the dessert cooks evenly while looking elegant.
- Prepare a Water Bath: Place the ramekins in a deep baking dish and fill the dish with hot water until it reaches halfway up the sides of the ramekins. This technique helps the custard cook gently and prevents cracks.
- Pro Tip: Cover the dish loosely with aluminum foil to protect the custard from forming a skin on top.
- Bake at a Low Temperature: Bake the custard at 300°F (150°C) for 30–40 minutes. It’s done when the edges are set, but the center still jiggles slightly when shaken.
- Pro Tip: Avoid overbaking, as it can result in a rubbery texture.
Transition: After the custard is baked to perfection, the final step is to create the signature caramelized topping.
Step 3: Caramelizing the Top
Now comes the fun part—caramelizing the sugar topping to achieve that irresistible crunch.
- Sprinkle the Sugar: Once the custards have cooled and set in the fridge, sprinkle an even layer of sugar over the surface of each ramekin. Use superfine sugar for the best results.
- Pro Tip: Tilt the ramekin to spread the sugar evenly for a consistent crust.
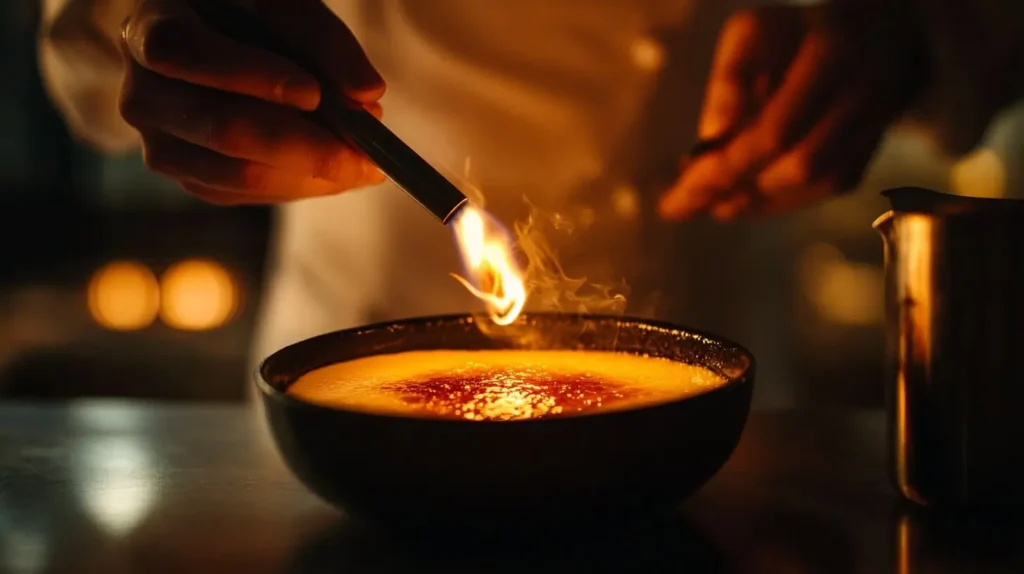
- Torch It: Use a kitchen torch to melt the sugar, moving it in a circular motion. The sugar will bubble and turn golden brown as it hardens into a thin, crispy layer.
- Pro Tip: If you don’t have a torch, you can place the ramekins under a broiler for a few minutes, but keep a close eye on them to prevent burning.
Tips for Perfect Results
- Let the Custard Cool Completely: Always chill your custards for at least two hours before caramelizing the top. This ensures the base is firm enough to support the crispy sugar layer.
- Control the Torch Heat: If the sugar burns too quickly, it can turn bitter. Always caramelize slowly and evenly for the best flavor.
Transition to Next Section: Now that you’ve mastered the technique, it’s time to troubleshoot common mistakes. Continue to Part 4 for helpful tips on avoiding errors and ensuring your crème brûlée always turns out perfect.
Common Mistakes and How to Avoid Them
Even seasoned bakers can encounter issues when making crème brûlée. From a curdled custard to uneven caramelization, mistakes can happen. However, with the right knowledge, you can avoid these pitfalls and ensure a flawless dessert every time. Let’s tackle some of the most common challenges and learn how to prevent them.
1. Overheating the Custard
Overheating is one of the primary reasons why crème brûlée can go wrong. It results in a curdled or grainy texture, which is far from the silky smoothness we aim for.
- Why It Happens: High oven temperatures or skipping the water bath can cause the custard to cook too quickly and unevenly.
- How to Avoid It:
- Always bake at a low temperature (300°F or 150°C).
- Use a water bath to regulate heat and cook the custard gently.
- Remove the custards from the oven when they’re slightly jiggly in the center. They will set further as they cool.
Image Suggestion: A comparison image of overcooked custard (rubbery texture) versus perfectly cooked custard (creamy texture).
2. Uneven Caramelization
The caramelized sugar topping should be evenly golden and crispy. If it’s patchy or burnt, it can detract from the dessert’s appeal.
- Why It Happens: Uneven sugar distribution or holding the torch too close can lead to inconsistent caramelization.
- How to Avoid It:
- Spread an even layer of superfine sugar across the custard.
- Keep the torch moving in a circular motion to prevent burning any one spot.
- Allow the sugar to bubble and harden gradually for a smooth, glossy finish.
Image Suggestion: A torch in action, caramelizing a perfectly even sugar layer on crème brûlée.
3. Cracking Custard
Discovering cracks in your custard can be disappointing, as it ruins the smooth surface.
- Why It Happens: Cracks typically form when the custard is overbaked or cooled too rapidly.
- How to Avoid It:
- Bake the custards gently and remove them as soon as the edges are set.
- Cool them at room temperature before transferring to the refrigerator.
4. Grainy Texture
A custard with a grainy or lumpy consistency is far from ideal.
- Why It Happens: Graininess occurs when the eggs cook too quickly or the custard is overheated during the tempering stage.
- How to Avoid It:
- Temper the eggs gradually by adding the warm cream in small amounts while whisking constantly.
- Strain the custard through a fine mesh sieve before pouring it into ramekins to catch any lumps.
Transition: Now that you know how to avoid these common mistakes, it’s time to get creative with your crème brûlée.
Creative Variations of Crème Brûlée
While the classic crème brûlée is a timeless dessert, experimenting with flavors and techniques can add a modern twist to this culinary masterpiece. From infused herbs to exotic ingredients, the possibilities are endless. Let’s explore some creative ways to elevate your crème brûlée game.
1. Infused Flavors: Herbs and Spices
Adding herbs or spices to the custard base creates subtle, aromatic variations that surprise the palate.
- Lavender Crème Brûlée: Infuse the cream with dried lavender for a floral, delicate flavor.
- Pro Tip: Strain the lavender out after infusing to avoid overpowering the custard.
- Chai-Spiced Crème Brûlée: Incorporate chai spices like cinnamon, cardamom, and cloves for a warm and comforting twist.
- Pro Tip: Steep the spices in the cream before tempering it with the eggs.
Image Suggestion: Ramekins of lavender and chai-spiced crème brûlée displayed with their corresponding ingredients.
2. Fruity Twists
Bright, tangy fruits can add balance to the richness of the custard.
- Citrus Crème Brûlée: Use lemon, orange, or lime zest in the custard base for a refreshing citrusy flavor.
- Pro Tip: Pair with a brûléed sugar topping infused with a hint of orange blossom water.
- Berry Crème Brûlée: Add a layer of fresh raspberries or blueberries at the bottom of the ramekins for a fruity surprise.
- Pro Tip: Ensure the berries are dry to avoid watering down the custard.
Image Suggestion: A ramekin with citrus zest sprinkled on top and another with visible layers of berries under the custard.
3. Chocolate Variations
Chocolate lovers will appreciate the richness of a chocolate-infused crème brûlée.
- Dark Chocolate Crème Brûlée: Melt dark chocolate into the cream before mixing it with the egg yolks.
- White Chocolate and Raspberry Crème Brûlée: The sweetness of white chocolate pairs beautifully with the tartness of raspberries.
4. Exotic Ingredients
Daring to try unique ingredients can result in unforgettable creations.
- Matcha Crème Brûlée: The earthy notes of matcha green tea add depth and sophistication to this dessert.
- Pro Tip: Whisk the matcha powder with the egg mixture to prevent clumping.
- Coconut Crème Brûlée: Replace heavy cream with coconut cream for a tropical, dairy-free option.
- Pro Tip: Garnish with toasted coconut flakes for added texture.
5. Seasonal Twists
Celebrate the seasons with flavors that evoke the time of year.
- Pumpkin Spice Crème Brûlée: Perfect for fall, this version incorporates pumpkin puree and warm spices like nutmeg and allspice.
- Eggnog Crème Brûlée: Ideal for winter holidays, it combines custard with the flavors of classic eggnog.
Tips for Customizing Your Crème Brûlée
- Experiment with Toppings: Swap the traditional caramelized sugar for a sprinkle of sea salt or crushed nuts.
- Pair with Accompaniments: Serve with shortbread cookies or a small glass of dessert wine to complement the flavors.
Transition: These variations not only showcase the versatility of crème brûlée but also allow you to tailor it to any occasion.
Next Up: In Part 6, we’ll answer frequently asked questions and wrap up with some final thoughts to ensure your crème brûlée journey ends on a sweet note.
As you embark on your journey to perfect crème brûlée, you may encounter questions about techniques, ingredients, and best practices. Here are answers to the most common queries, along with a summary of key takeaways to help you master this elegant dessert.

Frequently Asked Questions
1. Can I make crème brûlée without a kitchen torch?
Yes, you can! If you don’t have a kitchen torch, use your oven’s broiler. Place the ramekins on the top rack and watch closely as the sugar caramelizes. Be careful not to burn the sugar.
2. Why is my custard too runny?
A runny custard usually indicates underbaking. Make sure the edges are set, and only the center jiggles slightly before removing it from the oven. Allow the custard to chill for at least two hours to firm up.
3. How long can I store crème brûlée?
You can store crème brûlée in the refrigerator for up to three days. However, do not caramelize the sugar topping until just before serving to preserve its crunch.
4. Can I freeze crème brûlée?
Yes, the custard can be frozen before caramelizing the sugar topping. Thaw it in the refrigerator overnight, then torch the sugar just before serving.
5. Can I make crème brûlée dairy-free?
Absolutely! Substitute heavy cream with coconut cream or almond milk for a dairy-free version. Keep in mind that the flavor and texture might vary slightly.
6. What’s the best type of sugar for the topping?
Superfine sugar works best for caramelizing because it melts evenly and creates a smooth crust. If you don’t have superfine sugar, regular granulated sugar will work as well.
Conclusion
Making crème brûlée may seem intimidating at first, but with the right ingredients, techniques, and a bit of practice, anyone can achieve perfection. Whether you stick to the classic vanilla recipe or experiment with creative variations, this dessert is guaranteed to impress your family and friends.
Remember to take your time, pay attention to details, and enjoy the process. After all, the reward is a creamy, crunchy masterpiece that’s as satisfying to create as it is to eat.
Final Notes: If you follow the tips and tricks outlined in this guide, you’ll be serving flawless crème brûlée in no time. Enjoy experimenting and happy baking!

